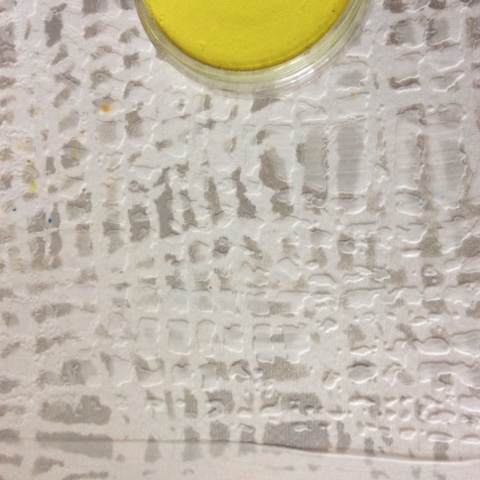
Firstly I took a piece of watercolour card which was left over from another project, this had silver Dyna paint which had been applied through a stencil.
I then offset the same stencil and applied light modelling paste.
Once this was dry I added PanPastels.
I then took a script stencil and added more modelling paste.
When dry I replaced the stencil and added the Coarse White Pearl Panpastel which added an amazing shimmer.
I then added a few bits and bobs, the butterfly I made from air dry clay and coloured it with the yellow and orange PanPastels.
A bit of matting and layering, all finished. I deliberately left the centre area clear so that the layers could be seen.
Well done if you stayed with me to the end.


Hi Yvonne,
ReplyDeleteWow stunning babe, love the colours and how great does that script look pasted up through a stencil. Notice you use Pan Pastels a lot do you prefer these to Distress Inks? I have never tried them as they are quite expensive. Hope all is good with you?
Love & Hugs
Jacquie J xxx
http://jewelscardcraft.blogspot.co.uk/
Stunning! Xx Val
ReplyDeleteBeautiful, loving the layers and colours xx Zoe xx
ReplyDeleteFabulous design Yvonne, and your step by step is brilliant and really informative. Hugs...xxx
ReplyDeleteStunning Yvonne, love it.
ReplyDeleteFabulous dimension and stunning colours. The white pearlescent pan really pops. Pat x
ReplyDeleteLove seeing the shading building up to create that wonderful depth, and the texture is fabulous.
ReplyDeleteAlison x